Introduction: The Workhorse of Modern Recycling
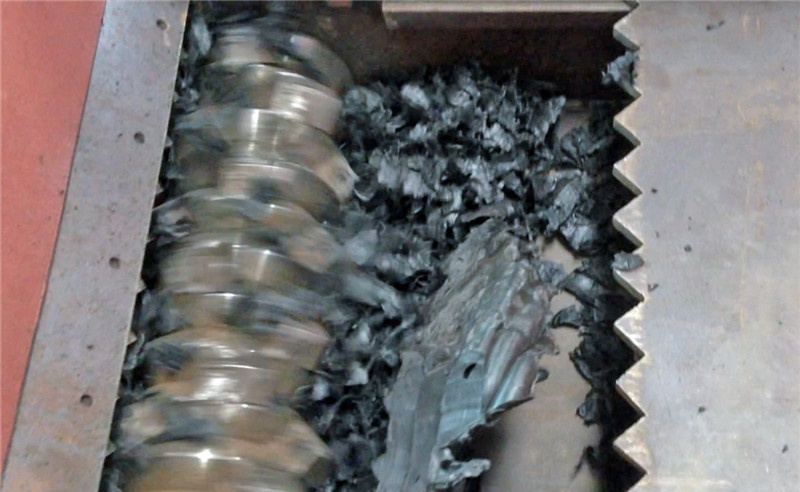
Walk into any busy recycling facility, and you'll likely hear it before you see it – a low, steady hum that grows into a rhythmic crunch as materials are torn, shredded, and transformed. That sound? Chances are, it's a 4-shaft shredder hard at work. In an industry where efficiency and versatility can make or break a business, this machine stands out as a quiet hero, tackling everything from bulky circuit boards to tough scrap cables with ease.
But why a 4-shaft shredder, and not the more common single or 2-shaft models? Let's start with a scenario many recycling operators know all too well: You've got a pile of mixed waste – old refrigerators, crumpled metal sheets, even entire circuit boards – and your current shredder keeps jamming. The blades bog down, the motor overheats, and your team spends more time unclogging than processing. Sound familiar? That's where the 4-shaft design shines. With four interlocking, counter-rotating shafts, it grabs materials from multiple angles, reducing even the most unruly items into uniform particles. It's like upgrading from a pair of scissors to a set of industrial shears – suddenly, the impossible becomes routine.
In this guide, we'll walk through everything you need to know to use a 4-shaft shredder effectively, from understanding its core components to mastering operation, maintenance, and real-world applications. Whether you're new to the game or looking to refine your process, consider this your roadmap to getting the most out of this powerful tool.
Understanding the 4-Shaft Shredder: What Makes It Tick?
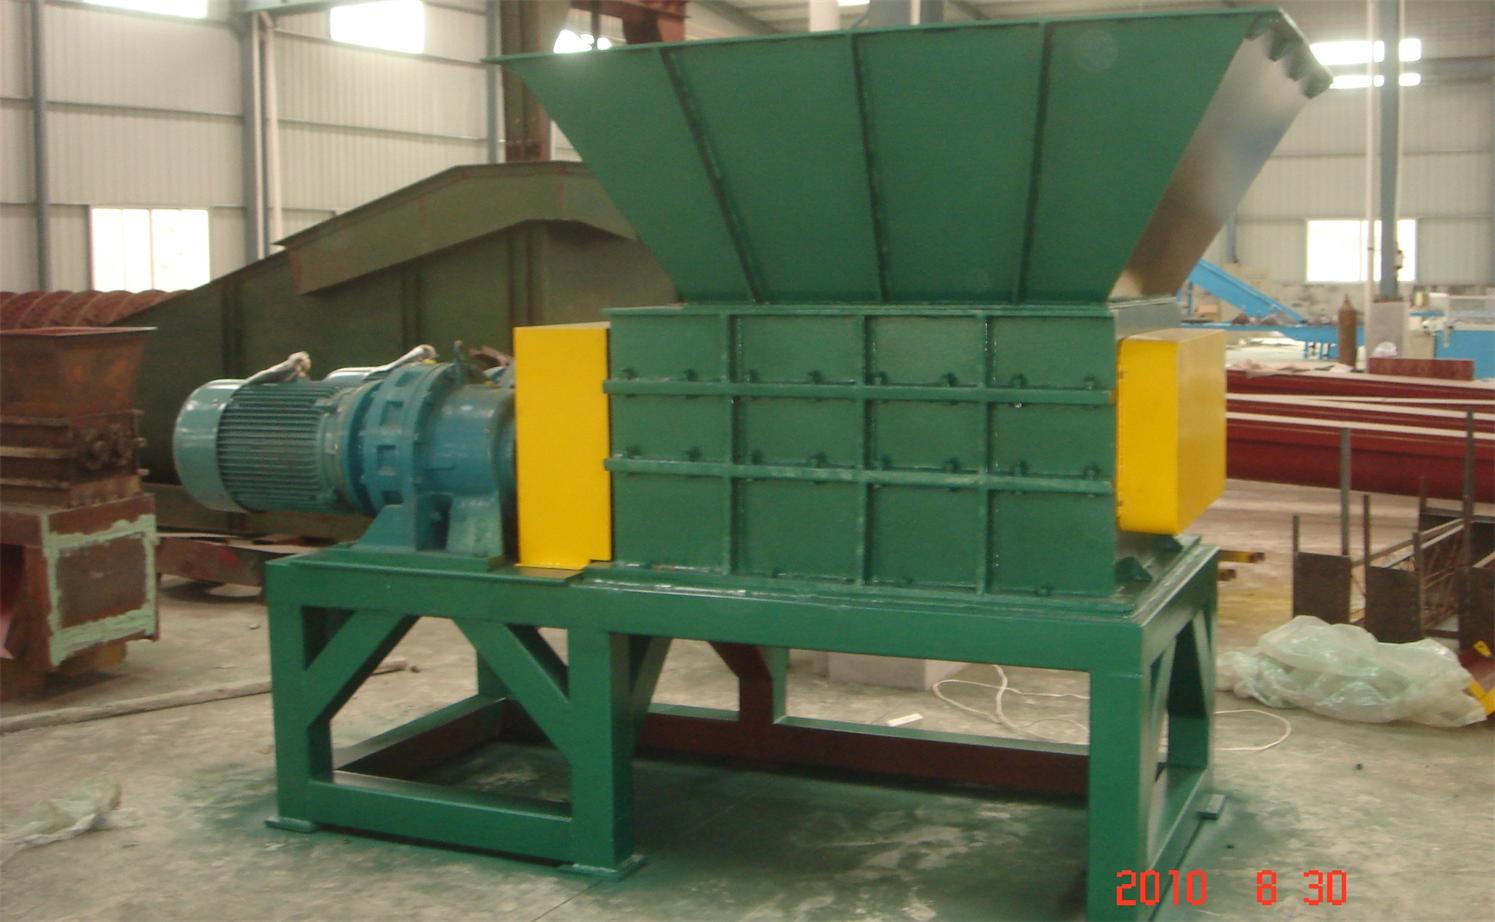
Before diving into operation, let's take a moment to get acquainted with the machine itself. At first glance, a 4-shaft shredder might look like a large, boxy metal contraption, but inside, it's a symphony of engineering designed for durability and precision. Let's break down its key components and how they work together.
Core Components: The Building Blocks
| Component | Function | Why It Matters |
|---|---|---|
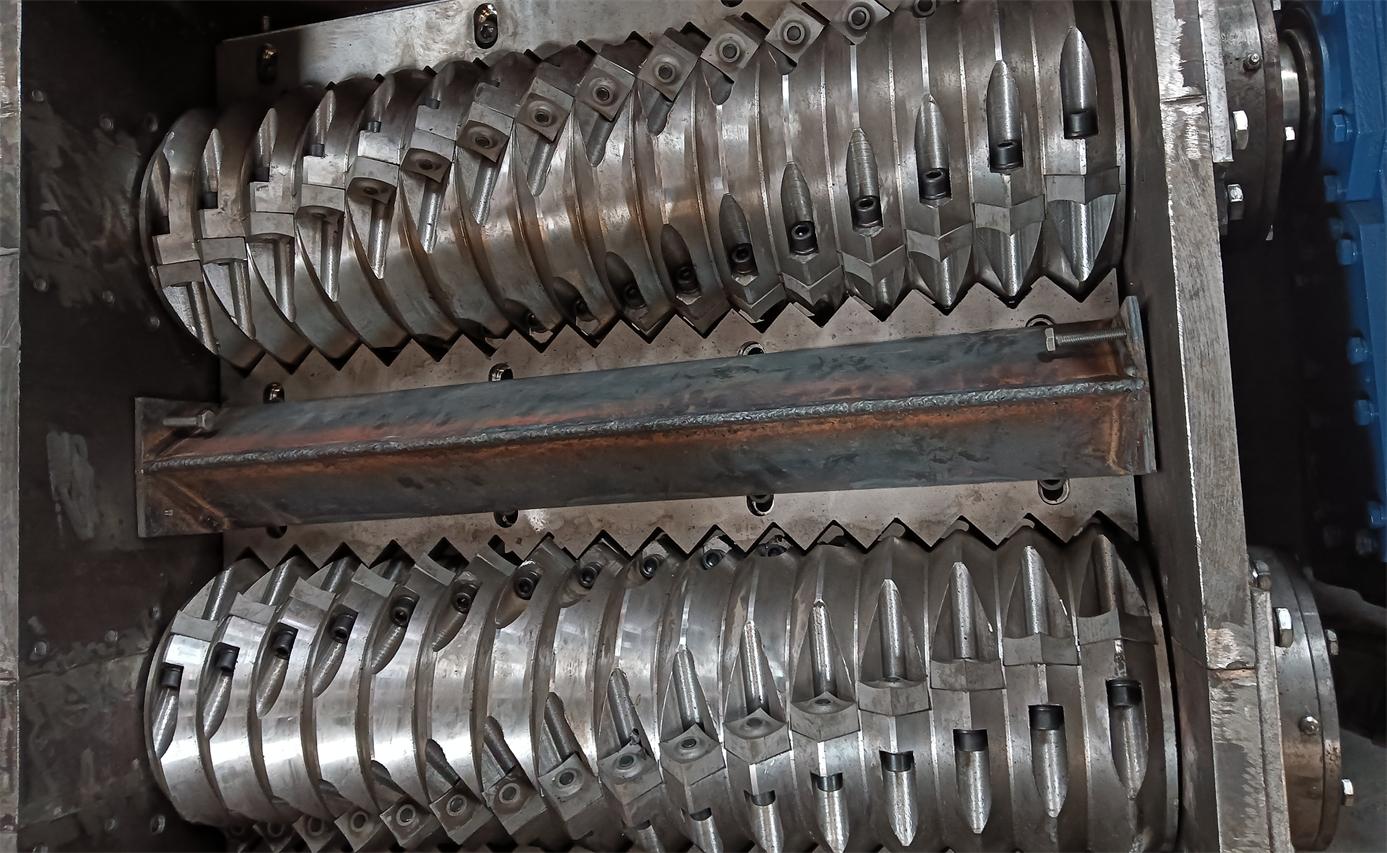
| Interlocking Shafts & Blades | Four parallel shafts with sharp, hardened steel blades that rotate in opposite directions, "chewing" materials into small pieces. | Provides superior grip on bulky or tough materials (e.g., circuit boards, scrap cables) and ensures uniform particle size for downstream processing. |
| Drive System | Powerful motors (often 50-200 HP) and gearboxes that drive the shafts, adjustable for speed and torque. | Delivers the force needed to shred dense materials without stalling; variable speed settings let you tailor output to specific needs. |
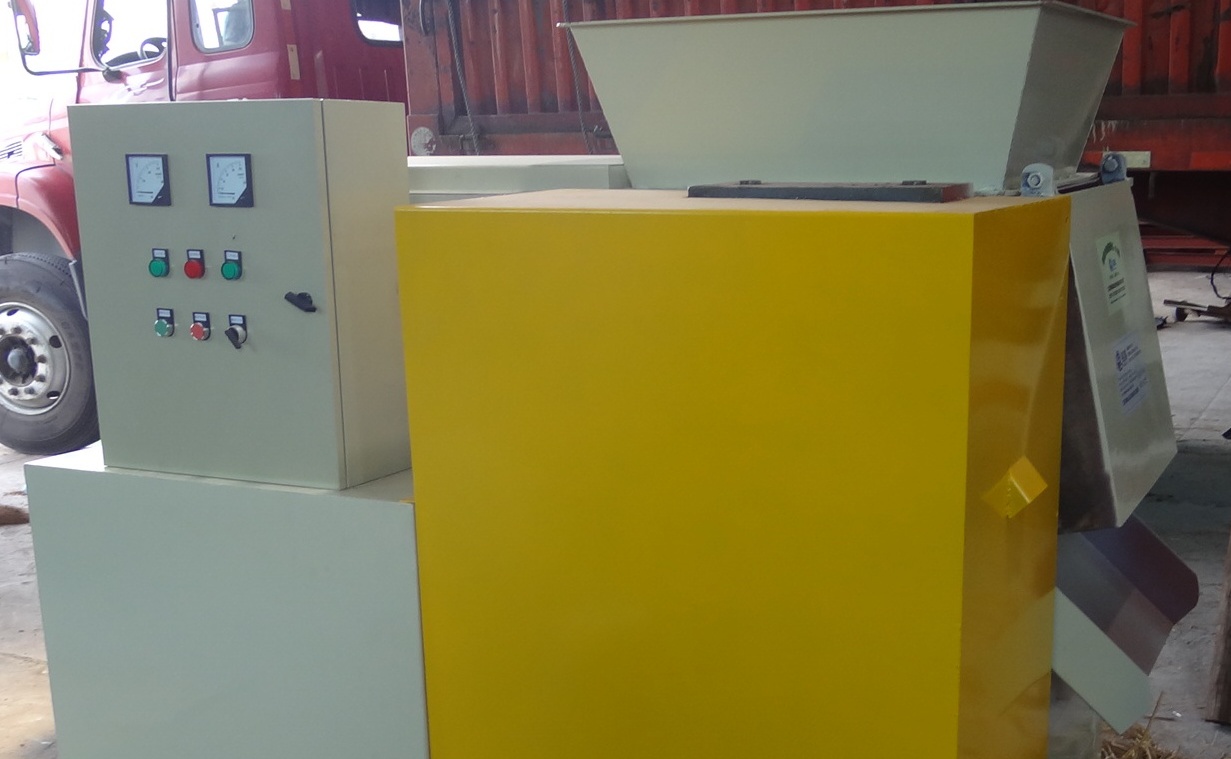
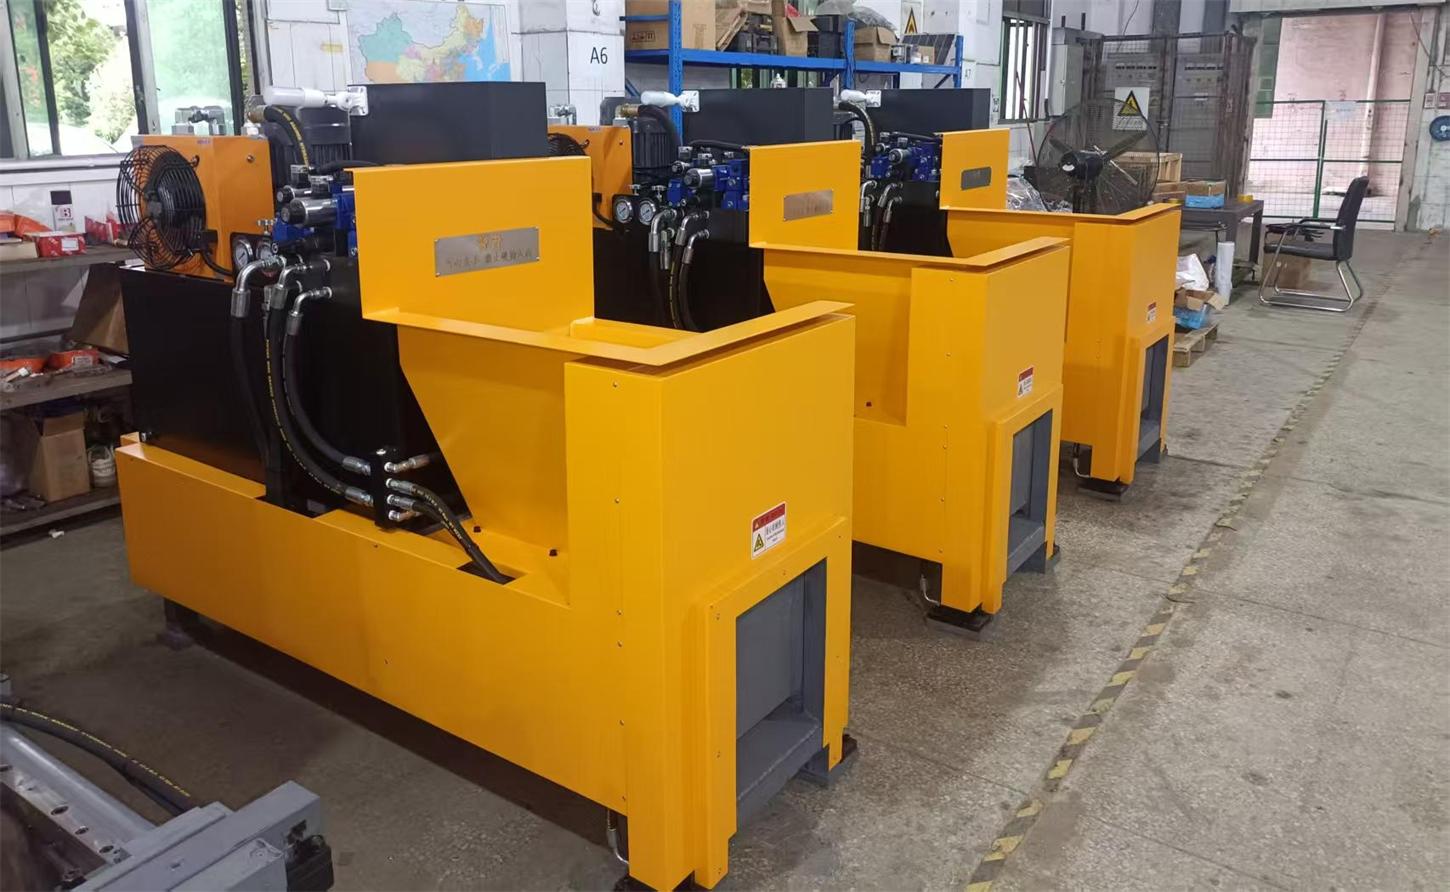
| Feeding Mechanism | A hopper or conveyor system that guides materials into the shredding chamber, often with a hydraulic ram to push items down. | Prevents overfeeding and ensures consistent material flow, reducing jams and improving efficiency. |
| Control Panel | Digital interface with start/stop buttons, speed controls, and safety alerts (e.g., overload warnings). | Allows operators to monitor and adjust the machine in real time, making it easy to adapt to different materials. |
| Safety Interlocks | Sensors and switches that shut down the machine if doors are open or unsafe conditions are detected. | Protects operators from injury and prevents damage to the machine during maintenance or emergencies. |
How It Stacks Up: 4-Shaft vs. Other Shredders
If you're used to single or 2-shaft shredders, you might wonder what sets the 4-shaft model apart. Here's the quick breakdown:
- Single-shaft shredders: Great for soft materials (e.g., plastic films) but struggle with hard, rigid items. They rely on a single rotating shaft and fixed blades, which can easily jam if overloaded.
- 2-shaft shredders: Better for medium-tough materials (e.g., wood, plastic), but their two shafts can still bog down with irregularly shaped items like circuit boards or scrap cables.
- 4-shaft shredders: The heavyweights. With four shafts, they distribute force evenly, reducing strain on the motor and blades. They excel at "difficult" materials – think thick metal sheets, entire motor stators, or even lithium-ion battery components.
In short, if your facility handles mixed or tough waste, the 4-shaft shredder is the workhorse you need.
Pre-Operation: Safety First, Efficiency Always
Operating a 4-shaft shredder safely isn't just a box to check – it's the foundation of a productive workflow. A single mistake can lead to downtime, injury, or costly equipment damage. Let's walk through the critical steps to take before hitting "start."
Step 1: Lockout/Tagout (LOTO) Protocol
Before any inspection or setup, always follow your facility's lockout/tagout procedure. This means disconnecting the machine from power, placing a physical lock on the power source, and tagging it with your name and the date. Why? Even a momentary power surge could start the machine unexpectedly, putting hands or tools in danger. As Maria, a safety officer with 10 years in recycling, puts it: "I've seen too many close calls. LOTO isn't optional – it's the difference between going home safe and a trip to the hospital."
Step 2: Inspect the Machine
With power locked out, it's time to give the shredder a once-over. Focus on these key areas:
- Blades: Check for chips, cracks, or dullness. Run a gloved finger (gently!) along the edge – if it doesn't catch on a piece of paper, it's time to sharpen or replace.
- Shafts: Ensure they spin freely without grinding or unusual resistance. Look for debris wrapped around the shafts (e.g., plastic film, wires) that could cause jams.
- Lubrication: Check oil levels in the gearbox and grease points (refer to the manufacturer's manual for locations). Low lubrication leads to overheating and premature wear.
- Control Panel: Test buttons and displays to ensure they're responsive. Faulty sensors or unreadable screens can lead to misoperation.
Step 3: Prepare the Materials
Not all materials are created equal, and feeding the wrong item into the shredder is a recipe for disaster. Take a few minutes to sort and prep your waste:
- Remove contaminants: Rocks, concrete, or other non-shreddable items can crack blades. For example, if processing scrap cables, use a scrap cable stripper equipment first to remove tough outer insulation – this reduces strain on the shredder and improves output quality.
- Size matters: Avoid feeding items larger than the hopper opening (check the manual for max dimensions). If you have a bulky item like a refrigerator compressor, pre-cut it into smaller pieces first.
- Mix strategically: Combine softer materials (e.g., plastic) with harder ones (e.g., metal) to help the shredder "grip" and process more efficiently.
Step 4: Set Up the Workspace
Finally, ensure the area around the shredder is safe and optimized for workflow:
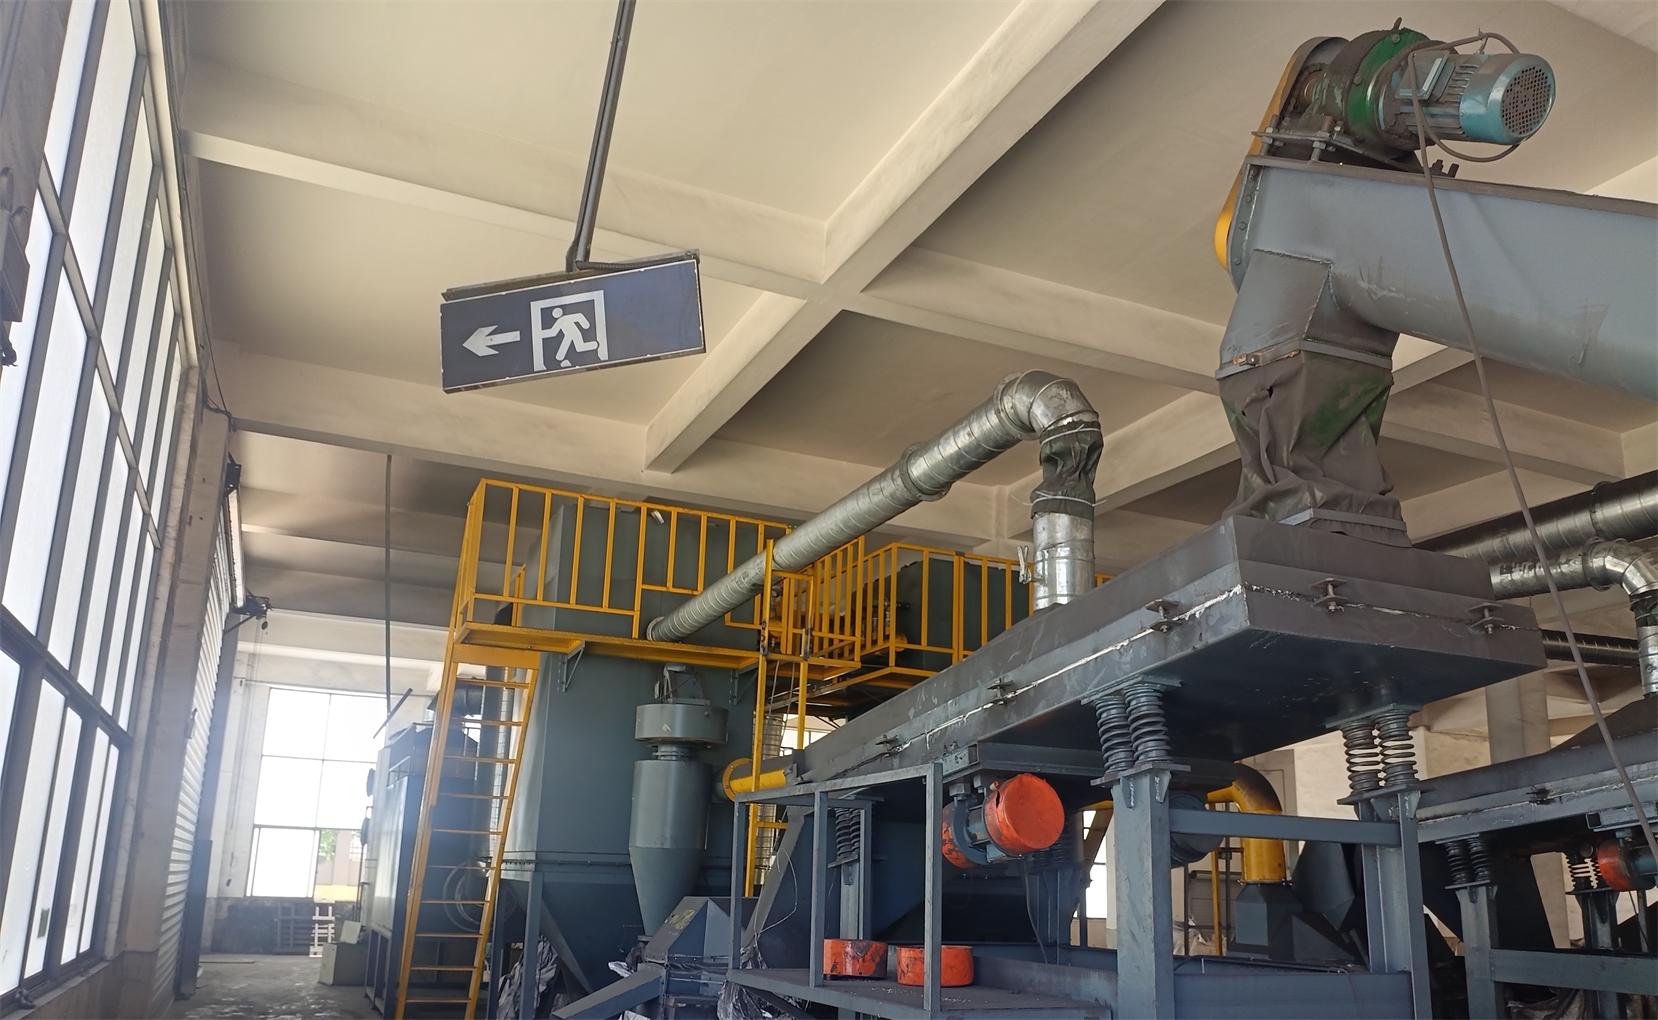
- Ventilation: Shredding can kick up dust, especially with dry materials like circuit boards. If your facility processes e-waste or batteries, an air pollution control system equipment is a must – it captures fine particles and fumes, keeping air quality safe for workers and compliant with regulations.
- Clear pathways: Keep the area around the shredder free of debris, tools, or tripping hazards. You'll need space to load materials and remove shredded output.
- PPE ready: Ensure operators have access to gloves, safety glasses, ear protection, and steel-toed boots. Post a checklist near the machine as a reminder.
Operation: Step-by-Step Guide to Shredding Success
With prep work done, it's time to fire up the machine. Operating a 4-shaft shredder is straightforward, but attention to detail will keep things running smoothly. Let's break it down into simple steps.
Step 1: Power Up and Warm Up
Start by removing the lockout/tagout devices and restoring power to the machine. Then, turn on the control panel – most models will light up with a startup screen. Allow the machine to "warm up" for 2-3 minutes; this gives the hydraulic system and motors time to reach optimal pressure and speed. You'll hear the shafts start to rotate slowly at first – this is normal.
While warming up, double-check the control settings: Set the shaft speed (measured in RPM) based on your material. For tough items like metal sheets, lower RPM (10-20 RPM) provides more torque; for softer plastics, higher RPM (25-30 RPM) increases throughput. Your manual will have recommended settings, but don't be afraid to adjust – every facility's materials are different.
Step 2: Feeding the Machine
Now comes the critical part: feeding materials into the shredder. The goal is to maintain a steady, consistent flow – too much at once, and you'll jam the machine; too little, and you're wasting energy.
- Batch vs. continuous feeding: For small, uniform items (e.g., stripped scrap cables), continuous feeding via conveyor works well. For large, irregular items (e.g., circuit boards), feed in batches, waiting for one load to be partially shredded before adding the next.
- Use the hydraulic ram: Most 4-shaft shredders have a hydraulic ram in the hopper. Once materials are in the hopper, engage the ram to gently push them toward the shafts. Avoid forcing the ram too hard – let the blades do the work. If you hear the motor strain, back off the ram pressure.
- Watch the "bite zone": Keep an eye on where the shafts meet the material. If items are bouncing or not being pulled in, stop feeding and use a tool (never your hands!) to guide them into the blades.
Step 3: Monitor and Adjust
While shredding, stay alert to changes in sound, vibration, or output. A healthy shredder will hum steadily; unusual noises (grinding, squealing) or excessive shaking are red flags.
Check the output regularly: The shredded particles should be roughly the same size (typically 20-50mm, depending on settings). If you see large chunks mixed in, the blades may be dull, or the speed is too high. If particles are too fine (dust-like), slow the shafts down or feed materials more quickly.
Here's a trick from Leo, an operator with 8 years of experience: "I keep a small bucket next to the output conveyor. Every 15 minutes, I scoop a sample. If the size consistency drops, I adjust the feed rate or blade gap. It takes 30 seconds, but it saves hours of reprocessing later."
Step 4: Shutting Down Properly
When you're done shredding (or need to pause), follow this shutdown sequence to avoid damage:
- Stop feeding materials and let the machine process any remaining items in the hopper (this takes 1-2 minutes).
- Once the output conveyor is empty, turn off the shaft rotation via the control panel.
- Wait for the shafts to come to a complete stop, then turn off the hydraulic system and main power.
- Engage lockout/tagout if you'll be performing maintenance or leaving the machine unattended.
Maintenance: Keeping Your Shredder in Top Shape
A 4-shaft shredder is a significant investment – with proper maintenance, it can last 10+ years. The key is consistency: small, regular checks beat costly repairs down the line. Let's outline a maintenance schedule you can follow.
Daily Maintenance (5-10 Minutes)
At the end of each shift, spend a few minutes on these tasks:
- Clean the machine: Use a brush or air hose to remove debris from the hopper, shafts, and output area. Pay special attention to blade gaps – buildup here can cause uneven shredding.
- Check for leaks: Look under the machine for hydraulic fluid or oil leaks. A small drip today can become a major issue tomorrow.
- Inspect PPE and safety signs: replace any damaged gloves or glasses, and ensure safety labels (e.g., "Keep Hands Clear") are visible.
Weekly Maintenance (30-45 Minutes)
Once a week, dive deeper into these areas:
- Lubrication: Grease all bearing points (check the manual for locations – there are usually 8-12 points). Use high-temperature grease for shafts and gears.
- Blade inspection: Remove the hopper guard and examine the blades for wear. Measure blade thickness – if they've worn down by 20% or more, it's time to sharpen or replace them.
- Hydraulic fluid check: Top off hydraulic fluid if levels are low, and check for contamination (fluid should be clear; cloudy or discolored fluid means it's time for a change).
Monthly Maintenance (2-3 Hours)
Set aside a morning each month for more intensive checks:
- Blade sharpening/replacement: If blades are dull, remove them (following LOTO!) and send them to a professional sharpener. Most blades can be sharpened 3-5 times before needing replacement.
- Drive belt tension: Check the belts connecting the motor to the gearbox. They should have about 1/2 inch of deflection when pressed – too loose, and they'll slip; too tight, and bearings wear out faster.
- Test safety interlocks: Intentionally open a guard or door while the machine is running (safely!) to ensure it shuts down immediately. Faulty interlocks are a major safety risk.
Real-World Applications: Where the 4-Shaft Shredder Shines
Now that you know how to operate and maintain a 4-shaft shredder, let's explore how it fits into real recycling workflows. From e-waste to scrap metal, this machine is a versatile player in countless processes.
Circuit Board Recycling: Turning E-Waste into Gold
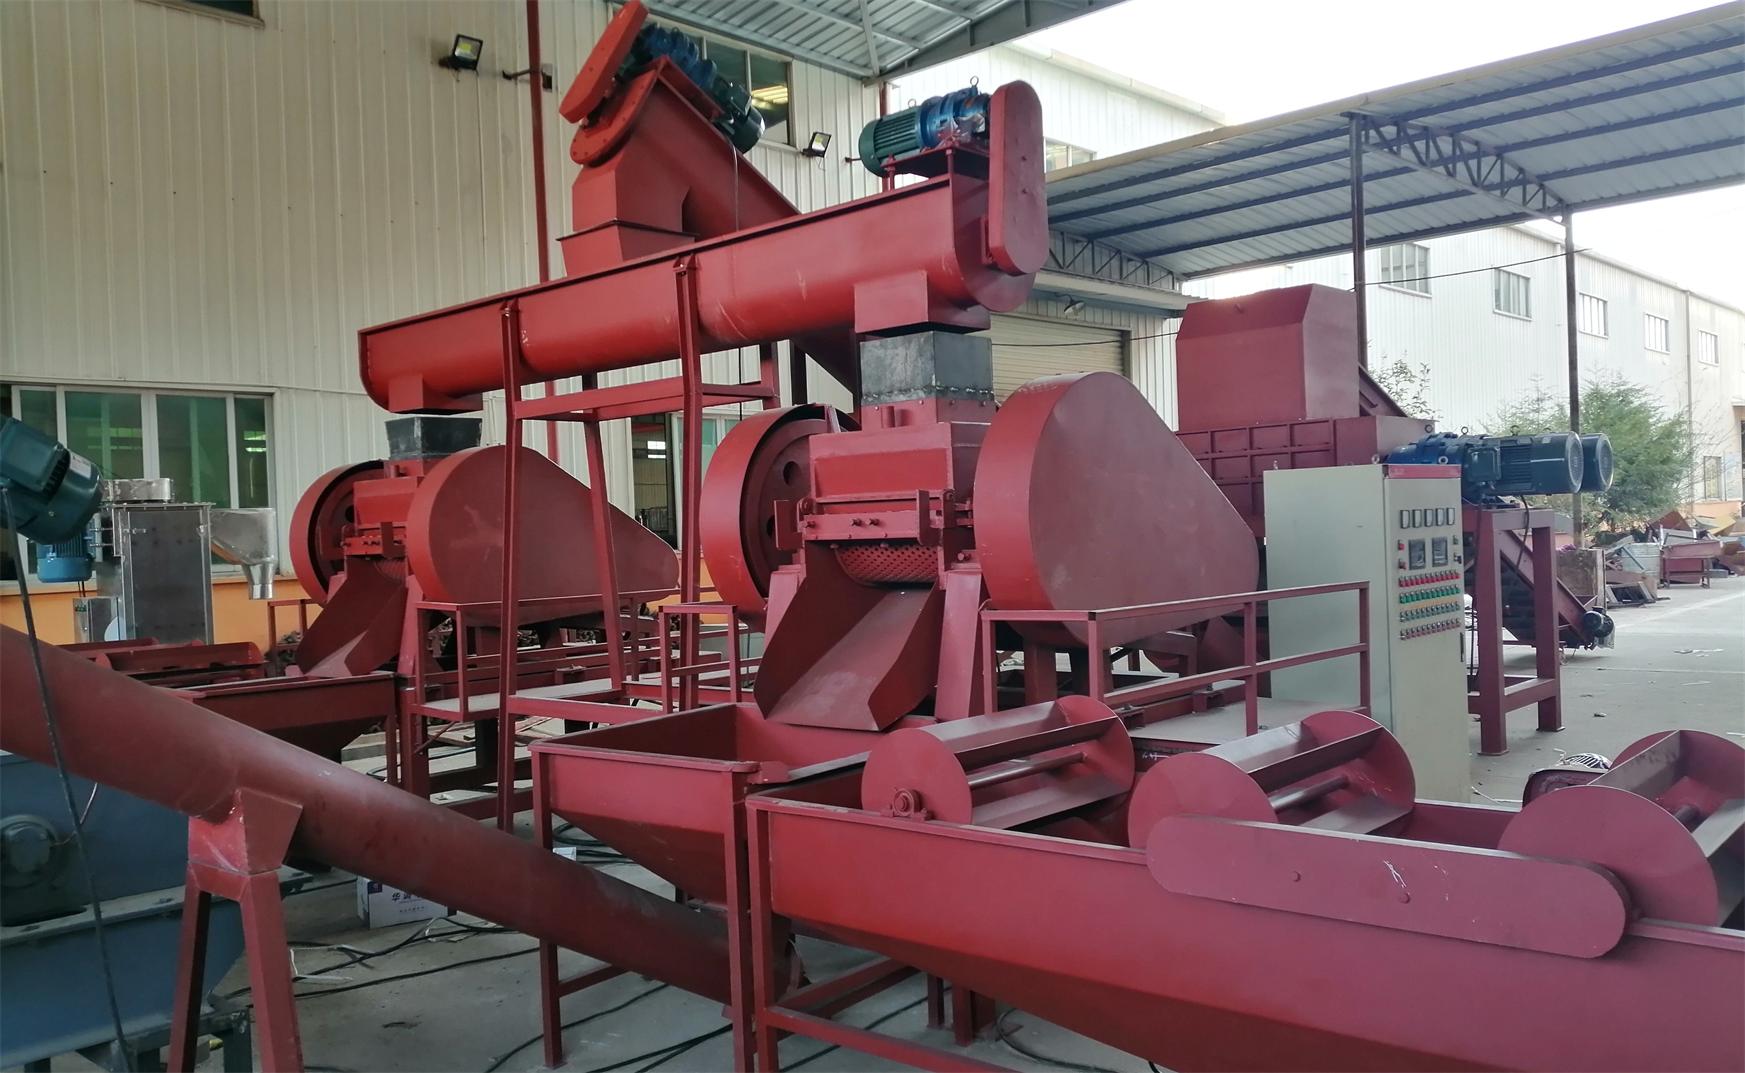
Circuit boards are a treasure trove of valuable metals – gold, silver, copper – but they're also tough to process. Enter the 4-shaft shredder: It reduces circuit boards into small, uniform flakes (10-20mm), making it easy for downstream circuit board recycling equipment to separate metals from plastic. For example, after shredding, flakes go through a dry separator that uses air currents to lift lightweight plastic away from heavy metals. The result? Piles of recyclable copper and gold, and plastic that can be melted down and reused.
Pro tip: When shredding circuit boards, pair the 4-shaft shredder with an air pollution control system equipment to capture lead dust and other harmful particles – compliance and worker health are non-negotiable here.
Scrap Cable Processing: Stripping and Shredding
Scrap cables are another common material for 4-shaft shredders. While some facilities use scrap cable stripper equipment to remove outer insulation first, even stripped cables can be tough on machines. The 4-shaft design handles the inner copper wires and metal strands with ease, breaking them into small pieces that are easy to melt down into new wire or sheet metal.
For example, a facility in Texas processes 500kg of scrap cables daily. By feeding stripped cables into their 4-shaft shredder, they reduced processing time by 40% compared to their old 2-shaft model – and their metal recovery rate jumped from 85% to 95%. "It's like night and day," says the plant manager. "We're getting more metal out of the same amount of waste."
Mixed Waste and Bulky Items
Perhaps the 4-shaft shredder's greatest strength is its ability to handle mixed waste. Think old refrigerators, car parts, or even entire lithium-ion batteries (with proper pre-processing). By shredding these items into uniform particles, you simplify sorting and recycling – no more manually breaking down bulky items.
Troubleshooting: Common Issues and How to Fix Them
Even with proper care, issues can pop up. Here's how to diagnose and solve the most common problems.
Problem: Machine Jams Frequently
Causes: Overfeeding, dull blades, or contaminants (e.g., rocks) in the material.
Solution: First, engage lockout/tagout and clear the jam (use a pry bar or tool – never hands!). Then, check blade sharpness and adjust feeding rate. If jams persist, inspect for contaminants in your material stream.
Problem: Uneven Shred Output
Causes: Misaligned blades, worn bearings, or inconsistent feeding.
Solution: Realign blades (follow the manual for torque specs) and check bearing tightness. If feeding is the issue, slow down the conveyor or use batch feeding for irregular items.
Problem: Excessive Noise or Vibration
Causes: Loose bolts, unbalanced shafts, or damaged gears.
Solution: Tighten all external bolts and check the gearbox for oil leaks (low oil can cause gear damage). If vibration continues, call a technician – unbalanced shafts can cause major damage over time.
Conclusion: Your Shredder, Your Success
The 4-shaft shredder isn't just a machine – it's a partner in your recycling operation. By understanding its components, mastering safe operation, and staying on top of maintenance, you'll unlock its full potential: higher throughput, better material recovery, and a smoother workflow.
Remember, every facility is different. Take the time to experiment with settings, learn from your team, and adapt these steps to your unique materials. With patience and practice, you'll turn that steady hum of the shredder into the sound of success.
Here's to shredding smarter, not harder – and building a more sustainable future, one particle at a time.